Search Knowledge Base
The Outlook add-in integrates REDDCRYPT technology into your Outlook.
The Microsoft Outlook versions for 2010 to 2019 (as of 06/2019) are supported.
Video
In this tutorial, we will show you how easy it is to encrypt emails with the Outlook plugin.
Installation
The Outlook add-in is installed via the MSI file. The following steps are necessary:
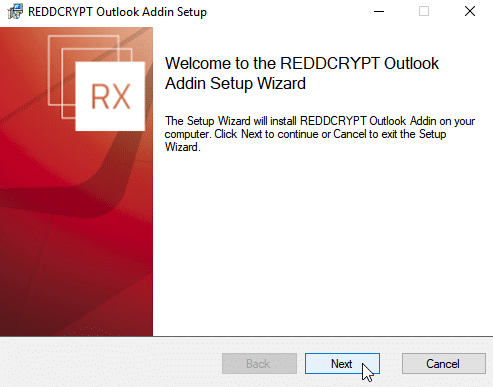
Start the wizard and confirm with Next
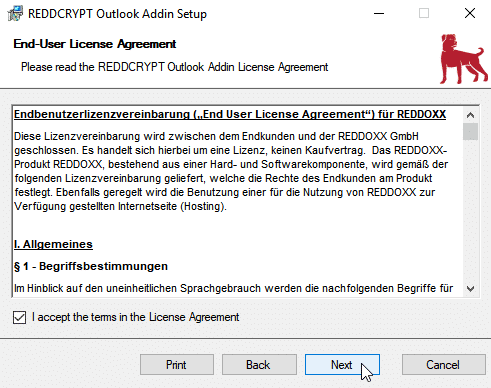
Confirm the license conditions
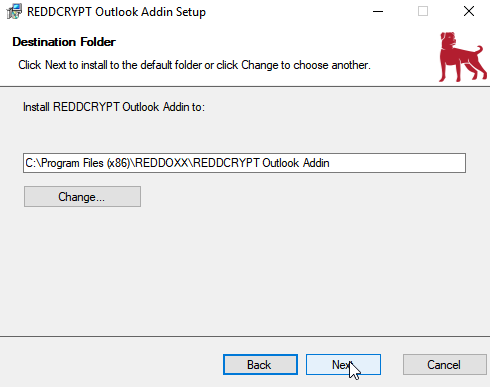
Select the installation path and confirm with Next (depending on the UAC setting, you may then need to confirm again)
The installation is already complete with Finish
Registration / Login
Once the add-in has been installed, it is available in Outlook.
By clicking on the add-in, you can make the configuration in the “Settings” area or decrypt a marked email encrypted via REDDCRYPT by clicking on the “Decrypt” button.

In the settings, you can add a new account, use an existing account, create additional accounts, manage accounts, make advanced settings and set update preferences.
Add new account
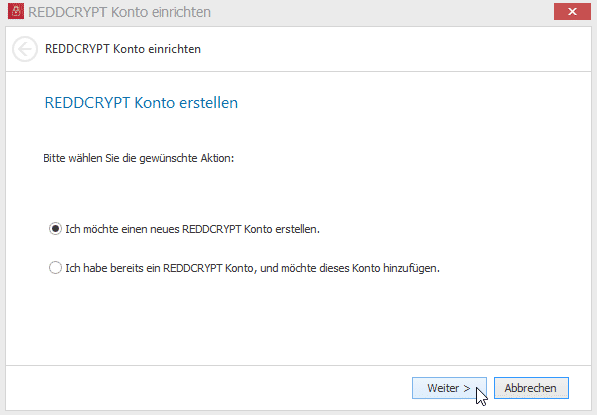
If you have not yet configured a REDDRCYPT account, you will be asked to set it up. Confirm with Yes.

Select “I would like to create a new REDDCRYPT account”
Enter the email address for which you want to configure REDDCRYPT.

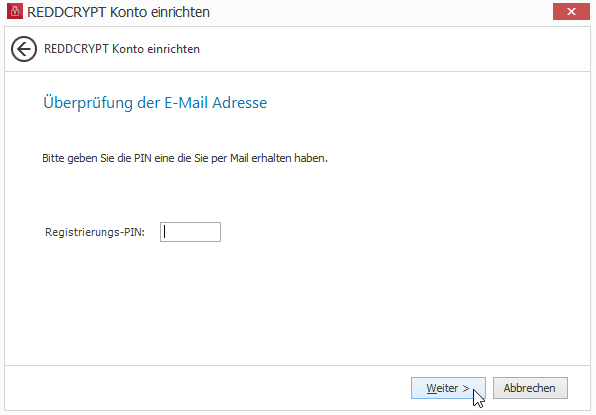
A registration pin will then be sent to the email address you entered to verify your address. Enter this PIN in the setup window.
Define a password.

Complete the setup.

Use existing account
If you have already registered an account (for example, on another system or in the web app), select as follows:

Then enter both the email address and the password configured for REDDCRYPT.

Create another account
As soon as you have created an account for REDDCRYPT and logged in, the account overview appears in the settings. Here you can select “Add REDDCRYPT account”.

Follow the steps just described “Add new account” or “Use existing account”, depending on whether another account already exists or is to be created.
Manage accounts
If several accounts have been created or added, they can be managed in the REDDCRYPT accounts overview. New accounts can be added or existing ones deleted (via right-click => Delete).

Advanced settings
In the settings, you can select the confirmation queries and decide whether mails should be sent directly to the recipient.
With direct delivery via SMTP, the REDDCRYPT portal is not used for sending, so the emails are not visible in the sender’s outbox/recipient’s inbox and must be decrypted manually using one of the available apps.

Update
In the Update tab, you can switch the update channel between Beta and Stable, manually search for updates and select whether updates should be searched for when the program is started.

Proxy
In the Proxy tab, you can define whether emails should be sent via a proxy. If yes, you can decide whether the settings stored in your Windows should be used or whether you want to configure the proxy separately.

Operation
The Outlook app is integrated into Outlook, so a REDDCRYPT icon is displayed for every email you write. By clicking on this icon, you can specify that this email should be sent encrypted.
If the icon is highlighted in color, encryption is active.

Depending on the configured settings, you will alternatively be asked whether you want to encrypt before sending. If there is no REDDCRYPT account for the recipient, you will be asked for a password for encryption.


This password must be communicated to the recipient, e.g. by telephone, and is only required for the first email. If you have not yet configured a REDDCRYPT account for your email address, this can be done before sending.

